Unity画中画(动态地图)
前言
这个东西是干嘛的,比如我们在大地图中,要去完成某个任务,要进去小地图,但是或者要实现一个挂机功能,但是不影响本身场景的逻辑,或者又可以叫做无缝大地图,也可以叫做动态地图,这个东西主要有三个难点,一个光照设置一个是雾效,还有一个是寻路,这两个都是基于场景设置的,但是我们的小地图不同于大地图怎么办。
实现
用到了两个开源项目 PrefabLightmapping,NavMeshComponents,一个是解决光照问题,一个是解决寻路问题。
逻辑方面,就是把场景制作成Prefab,按照PrefabLightmapping的教程实现就行了,NavMeshComponents也是一样,具体就是创建Prefab,把我们的主角传送到Prefab里面就是了。这里我们只解决最后一个问题雾效,这个用的是RenderTexture,因为我们画中画实现的就是用一个相机单独把我们的挂机渲染到UI上或者哪里都可以。
PrefabLightmapping
这个技术关键点就是先烘焙出光照贴图,然后修改我Root节点下每个Render的属性达到光照效果。
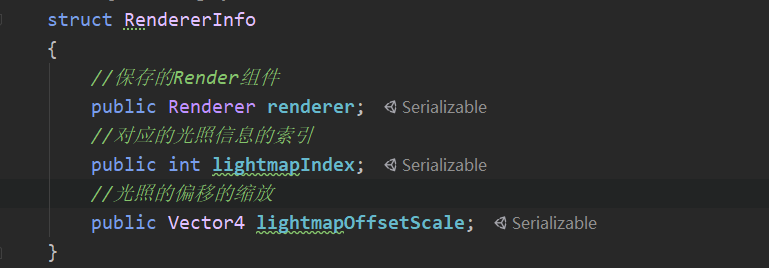
保存的Render组件信息
核心的操作,修改LightmapSettings

修改每个保存的Render的光照贴图的信息
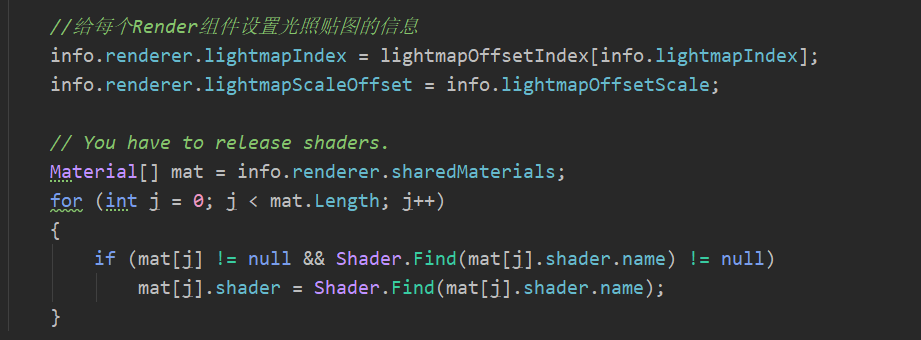
主要核心逻辑就是把我们烘焙后的信息保存到我们组建中,然后动态修改回去,然后修改每个组件的光照信息。
NavMeshComponents
这个插件不多介绍了,这个是Unity官方支持的扩展插件,动态寻路。引用官方的描述了。
Q: Can I bake a NavMesh at runtime?
A: Yes.
Q: Can I use NavMesh’es for more than one agent size?
A: Yes.
Q: Can I put a NavMesh in a prefab?
A: Yes - with some limitations.
Q: How do I connect two NavMesh surfaces?
A: Use the NavMeshLink to connect the two sides.
Q: How do I query the NavMesh for one specific size of agent?
A: Use the NavMeshQuery filter when querying the NavMesh.
Q: What’s the deal with the ‘DefaultExecutionOrder’ attribute?
A: It gives a way of controlling the order of execution of scripts - specifically it allows us to build a NavMesh before the (native) NavMeshAgent component is enabled.
Q: What’s the use of the new delegate ‘NavMesh.onPreUpdate’?
A: It allows you to hook in to controlling the NavMesh data and links set up before the navigation update loop is called on the native side.
Q: Can I do moving NavMesh platforms?
A: No - new API is required for consistently moving platforms carrying agents.
Q: Is OffMeshLink now obsolete?
A: No - you can still use OffMeshLink - however you’ll find that NavMeshLink is more flexible and have less overhead.
Q: What happened to HeightMesh and Auto Generated OffMeshLinks?
A: They’re not supported in the new NavMesh building feature. HeightMesh will be added at some point. Auto OffMeshLink generation will possibly be replaced with a solution that allows better control of placement.
雾效模拟
其实无非就是我们的后处理,实现OnRenderImage的接口就行了。
我们参考LightSeting里面的Fog,肯定会有Start和End和Color的三个参数,模式线性就默认的了。
我们模拟这个雾,有个近清晰远模糊的这个规律,那边我们就需要计算我们的视角,也就是摄像机到目标也就是的距离,翻译过来就是摄像机的深度,所有我们摄像机需要开启深度,来实现我们的这个效果。
1 | camera.depthTextureMode |= DepthTextureMode.Depth; |
雾效的呈现到我们图片的结果应该是在采样的时候做一次雾效的差值,这样基本上就是在我们图片的模拟雾的原理就很清晰了,先生成雾再把他插入到我们的视图里面。
那么深度公式大概就是 (朝向向量 * 距离 = 到达距离)~= 深度具体的实现代码实现就是
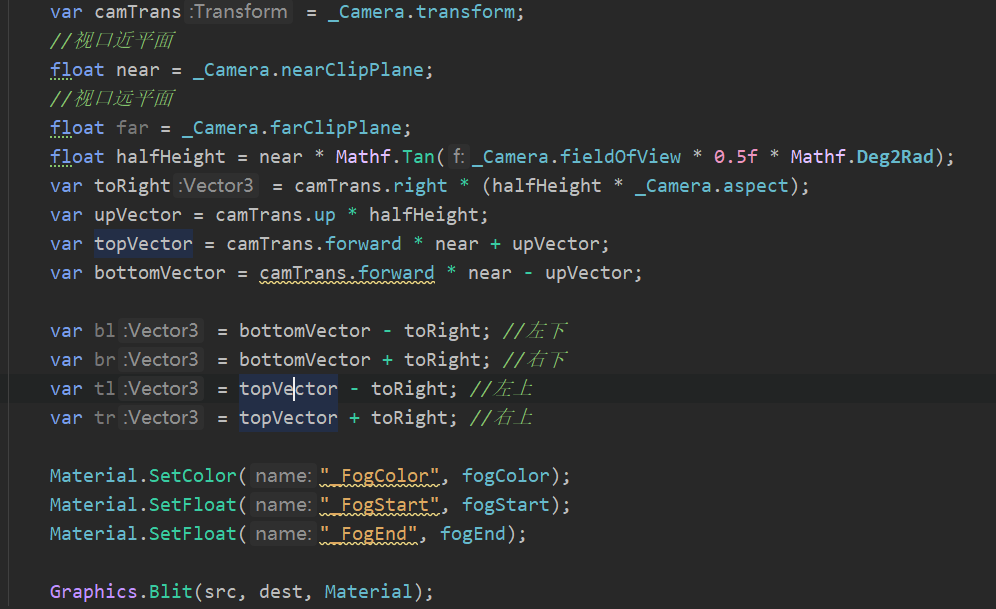
Shader就是一个差值

代码写的比较简陋主要是思路,思路正确了,基本上就是公式的套用和api的使用。
